

As an Amazon Associate, I earn from qualifying purchases.

Canning Cherry Jam is a delicious, low-sugar, and fresh-tasting spread for toast, yogurt, or dessert recipes. This homemade cherry jam recipe is an amazing way to preserve the harvest and is a treat for the whole family.

This low-sugar cherry jam recipe is exactly how homemade jam should taste – not too sweet and tasting of fresh fruit and not sugar!
This post is very detailed because I have stuffed it full of information, tips, tricks, and hacks I have learned over 19 years of canning. I’m telling you EVERYTHING you need to know to be successful at making homemade cherry jam in your very own kitchen.
You can always click “jump to recipe” if you’d like, but I highly recommend a read-through at least once to make sure you fully understand the process.
How to use low-Sugar Pectin
This recipe is specifically designed to use low-sugar pectin. That gives you fresh-tasting jam instead of cherry candy.
Most commercial pectins are added to fruit along with bonkers amounts of sugar to create a “gel” that makes jam, well, jam. Most conventional recipes call for at least a 1:1 ratio of fruit to sugar. That means for a recipe that makes four jars of jam, you’re looking at needing 5-7 cups of sugar. MAKE IT STOP.
Low-sugar pectin, (like Pomona’s) is activated by calcium (not sugar) and needs just a touch of sugar to work. :confetti: This recipe makes four (8 oz) jars using just 3/4 cups of sugar. Pomona’s is also gluten-free, vegan, certified kosher, and GMO-free.
how to make cherry jam
*I’ll walk you through it here with some photos and tips, and you’ll also find a printable recipe card at the bottom of the post with exact measurements, etc. You can also click “jump to recipe” to skip down.
Canning prep
Prepare your water bath canner by filling it with water, and setting it on the stove. Turn the burner to high. Once it reaches a boil, reduce it to simmer. You want to keep the water hot so that everything is ready when the jam is.
Wash and sanitize your jars. You’ll want to keep them warm to avoid having them crack when placed in the canner. You can fill them with hot water, or place them on a tray in the oven at 170˚F.
Wash your lids and set them aside in a clean place. You no longer need to simmer lids in water to keep them sterile. Woot!
Making cherry jam
Wash the cherries. Remove the stem and pit the cherries. You’ll want a cherry pitter (I have this one and this one), a paring knife, or a straw or chopstick.
Pro tip: I like to pit cherries on my front porch while wearing all-black clothes. It definitely makes kitchen AND laundry clean-up a lot easier.
Chop the cherries using a chef’s knife and a cutting board, or a pastry cutter, or pulse them in a food processor. You don’t want to blend them; visible chunks are ideal.
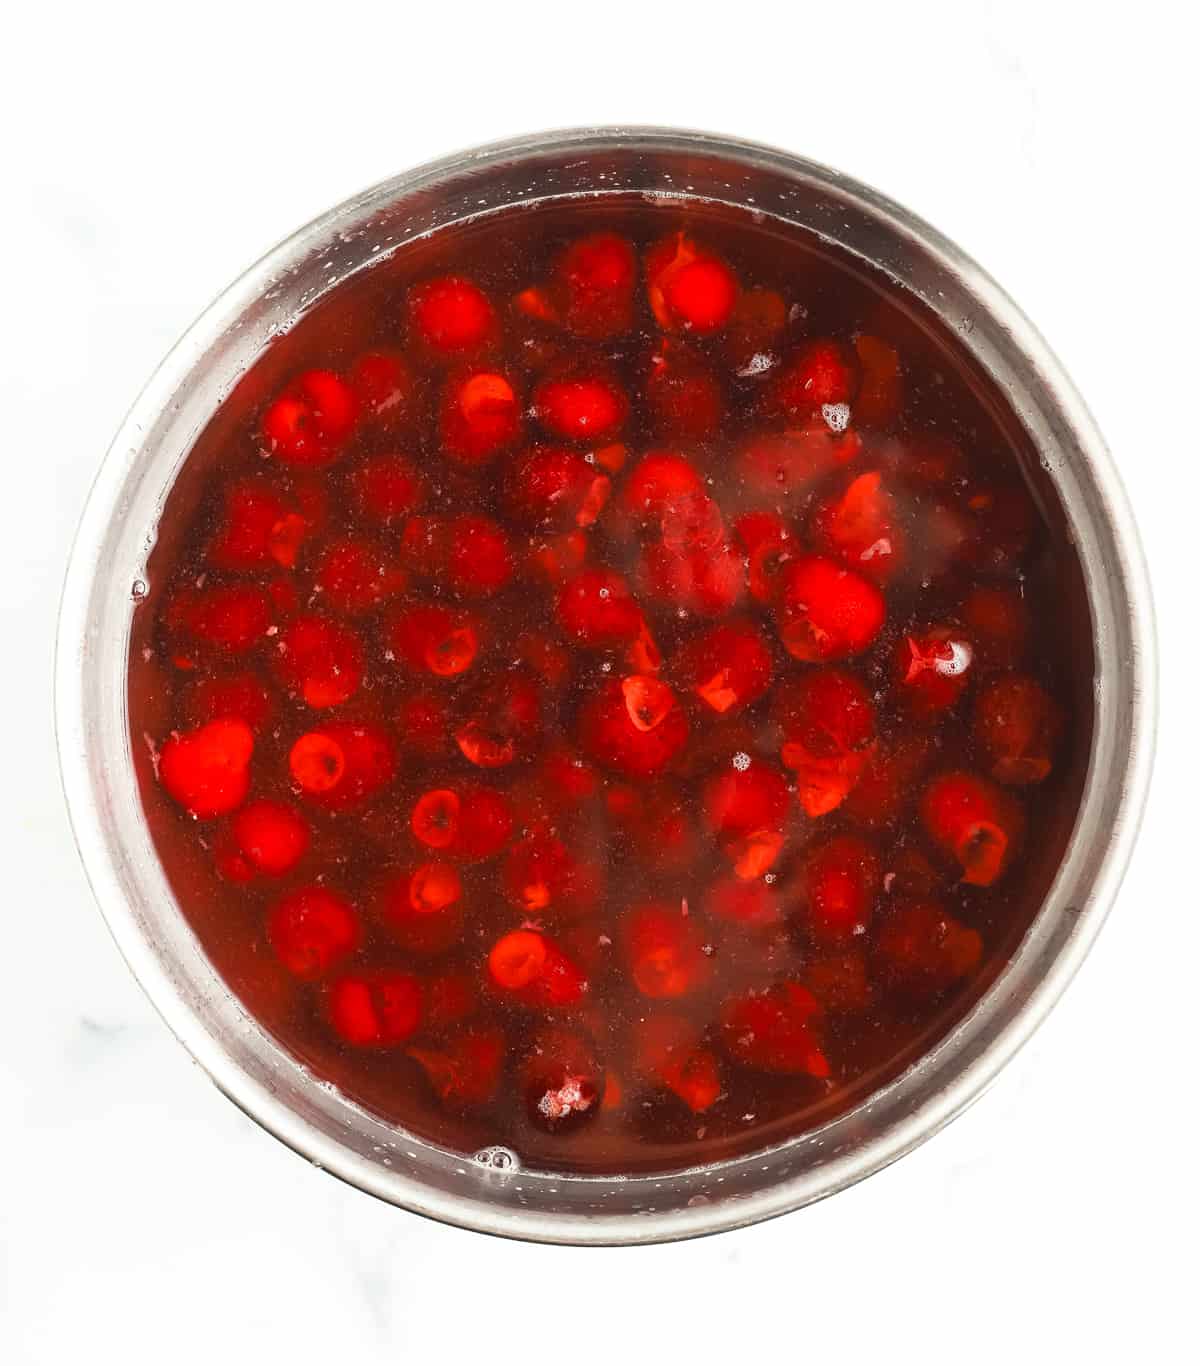
Heat the cherries in a heavy-bottomed saucepan (I use my Dutch oven) over medium heat until the juices start to bubble. Stir often to prevent sticking, and soon the natural juices in the cherries will be released. Be patient!

In a small bowl, combine 1/2 tsp calcium powder (this comes in the box of low-sugar pectin) with 1/2 cup cool water.
In a separate bowl, combine sugar and pectin. Set aside. To prevent clumping in the fruit, Pomona’s must be mixed with your sweetener before being added to the fruit.
Add the bottled lemon juice and calcium water to the pot with the cherries, and stir. Add the sugar/pectin mixture, and bring everything to a rolling boil. Stir the mixture constantly for 3 minutes, turning down the burner to medium if the jam starts popping.
Pro tip: actually set a timer and stir for the full three minutes. The constant stirring prevents the jam from burning, and the cooking time is important to help the jam set.
Pro tip #2: a rolling boil means no amount of stirring will stop the bubbling. Use a long spoon or spatula to avoid any hot jam from popping onto your hand.
At this point, turn the burner under the canner back up to high and get that water boiling again.
Remove the jam pot from the heat, and stir it gently for 3 more minutes. At the end of the 3 minutes, skim off any foam that remains.

Using a funnel and a ladle, add the jam to your prepared jars, leaving 1/4 inch of headspace at the top. Headspace is the amount of room between the top of the food, and the top rim of the jar.
Using a wet clean rag, wipe the rim to make sure there isn’t any sticky jam on there.
Place a new clean lid on the jar and then a canning ring. Tighten the ring to fingertip tight (tight enough that it won’t come off, but not so tight that a normal person couldn’t budge it).

Using canning tongs, add your jars to the boiling water, and put the canner lid on. Pro tip: you must have at least 1 inch of water over the tops of the jars for safe canning. Processing times will vary based on altitude. See the chart below.
Processing Times for Cherry Jam
Once the processing time is up, remove the canner from heat, remove the lid of the canner, and let the canner sit for 5 minutes. Use canning tongs and remove the jars and place them on towels on the counter. Make sure you put them where they can be undisturbed for 12-24 hours.
After everything has cooled, check the seal by pushing down on the middle of the lid. If it doesn’t give way, it’s sealed. Label the jars, and store in a cool dark place for up to a year. If the lid bows a little bit, put that in the fridge and use it within 3 weeks.
Why do I have to use bottled lemon juice for jam?
Fresh lemon juice is amazingly flavorful, but it’s not meant to be used in canning. The acidity of individual lemons can vary, but bottled lemon juice is consistent.
The natural pectin in the cherries and the Pomona’s react to the citric acid in lemon juice and create an amazingly fresh-tasting jam. The lemon flavor is not overwhelming in the jam, but it brightens the natural flavor of the cherries and improves the overall flavor without needing extra sugar.

Common Jam Issues
Help, My jam didn’t set!
I have found with Pomona’s that every batch has set because it doesn’t depend on sugar to create the gel. If you’re using another brand of pectin, the common reason for the jam not setting is that it wasn’t cooked long enough or the (appalling) amount of sugar called for was adjusted.
Jam must be fully cooled in the jars for 24 hours before it is determined if it has truly set. It will thicken as it cools. When this cherry jam goes into the jars, it has a fairly “soupy” consistency.
If your jam truly looks liquidy after 24 hours, Pomona’s has an amazing step-by-step guide on their site for troubleshooting and fixing jam issues.
HOW TO TEST TO SEE IF THE JAM IS SET – SPOON/SHEET TEST
If you want to double or triple-check that your jam will set before canning it, try the spoon/sheet test. Stir a metal spoon into the jam and hold it sideways above the pot. If the jam runs off in drips, then keep cooking it. It’s just not ready.
But, if the jam drops start to run together and come off the spoon in a sheet, your jam is done! Yay!
HELP, THE BOTTOM OF MY JAM JAR IS ALL JUICE!
Been there, jammed that.
Once your jam has set, there may be some settling happening in the jar. That’s normal! But sometimes, what the final product looks like is cherry liquid on the bottom and actual jam on the top.
This occurs when the cherries were over crushed/pulsed/blended and too much juice was released.
Can Jam be Doubled?
Yes, but jam is best when made in small batches. With that in mind, doubling the jam recipe is fine but tripling is not advised. You’ll want to double each of the ingredients, including the pectin.
Making Jam with Frozen Fruit
YES, you can use frozen fruit for making jam. Hurray! You’ll need to cook down the cherries a bit longer to reduce the liquid that is produced while they thaw. Or, you can thaw them ahead of time and discard the liquid.
Check out this post on how to freeze cherries if you have lots of leftover fresh cherries.
Storage
Once the jars have sealed, remove the rings. Label and store sealed jars in a cool (best results are 50-70˚F) dark place for up to 12-18 months.
If you have the space available, do not stack the jars on top of each other more than two jars high.
If you open a jar for use and don’t use it all, you can store it in the fridge for 2-3 weeks.
Pro Tips/Recipe Notes
- You can sub in honey if you’d like. Use 1 cup for this recipe. As the jam is cooked and then processed in the canner, any beneficial properties of using raw honey will be eliminated.
- The left mixed calcium water will last for three months in the fridge. Shake well before using it for other recipes.
- If you don’t have enough jars to fill the canner, consider Canning Water in a few jars to stock your emergency drinking water supplies.
More Canning Recipes to Try

Prevent your screen from going dark
Prep for the canning part
-
Prepare water bath canner by filling it with water, and setting it on the stove. Turn the burner to high. Once it reaches a boil, reduce it to simmer. You want to keep the water hot so that everything is ready when the jam is.
-
Wash and sanitize your jars. You can fill them with hot water, or place them on a tray in the oven at 170˚F degrees.
-
Wash your lids and set aside in clean place.
Making Cherry Jam
-
Rinse, stem, and pit the cherries.
5.5 cups cherries, pitted and chopped
-
Roughly chop or pulse in a food processor. Measure out 4 cups of the fruit mixture.
-
Place chopped cherries in a heavy-bottomed saucepan.
-
Stirring often, heat the fruit over medium heat until the juices start to bubble.
-
In a small bowl, combine 1/2 tsp calcium powder (comes in the box of pectin) with 1/2 cup cool water.
-
In a separate bowl, combine sugar and low-sugar pectin. Set aside.
3/4 cup sugar, 3 tsp low-sugar pectin
-
Add the lemon juice (1/4 cup) and calcium water (2.5 tsp) to the pot with the cherries, stir.
1/4 cup bottled lemon juice, 2.5 tsp calcium water
-
Add the sugar/pectin mixture, and bring to a rolling boil. Stir constantly for 3 minutes, turning down the burner to medium if the jam starts popping.
-
At this point, turn the burner under the canner back up to high and get that water boiling again.
-
Remove the jam pot from heat, and stir gently for 3 more minutes. At the end of the 3 minutes, skim any foam that remains.
-
Using the funnel and a ladle, add the jam to your prepared jars, leaving 1/4 inch of headspace at the top. Headspace is the amount of room between the top of the food, and the top rim of the jar.
-
Using a wet clean rag, wipe the rims of the jars to make sure there isn’t any sticky jam on there.
-
Place a new clean lid on the jar and then a ring. Tighten the ring to fingertip tight.
-
Using canning tongs, add jars to the boiling water, and put the canner lid on. Pro tip: you must have at least 1 inch of water over the tops of the jars for safe canning.
-
Process half-pints and pints based on the elevation guide below:*0-1,000 ft – Half-Pints & Pints =5 min *1,001-6,000 ft – Half-Pints & Pints =10 min *6,000 ft+ – Half-Pints & Pints =15 min
-
Once the jam has processed for the appropriate amount of time, remove the canner from the burner, and carefully remove the lid of the canner (Pro tip: use oven mitts to take the lid off because the steam is super hot).
-
After the 5 minute rest in the canner, use canning tongs to carefully remove the jars, and place them on a thick towel in a place where they can be undisturbed for 12 hours.
-
After the jars have rested for about 12 hours, press down in the middle of each lid. If it “gives” at all, the jar didn’t seal. Either enjoy it that day, put it in the fridge, or reprocess it.
-
Once the jars have sealed and cooled, remove the rings. Label and store sealed jars in a cool (best results are 50-70˚F) dark place for up to 12-18 months.
- Makes 4, 8 oz jars.
- ~5.5 cups fresh cherries generally equal about 4 cups of pitted and chopped.
- Jam is best when made in small batches. Doubling can work, but avoid tripling the recipe.
- Will last open for 2-3 weeks in the fridge or 12-18 months sealed and at room temperature.
- Nutrition values are an estimate only
Serving: 1tbspCalories: 13kcalCarbohydrates: 3gProtein: 0.1gFat: 0.03gSaturated Fat: 0.004gPolyunsaturated Fat: 0.01gMonounsaturated Fat: 0.004gSodium: 0.03mgPotassium: 22mgFiber: 0.2gSugar: 3gVitamin A: 6IUVitamin C: 1mgCalcium: 1mgIron: 0.04mg
Nutrition information is automatically calculated, so should only be used as an approximation.
