
You say you can’t sew? You’re afraid to reupholster? Well, then…keep reading, my dear. This post is for YOU! And even though I had never sewn a thing in my entire life, I willed myself to learn how to reupholster my favorite “mom” chair. If you are as determined a DIY’er as I am…then, girl, I am cheering you on! It CAN be done!
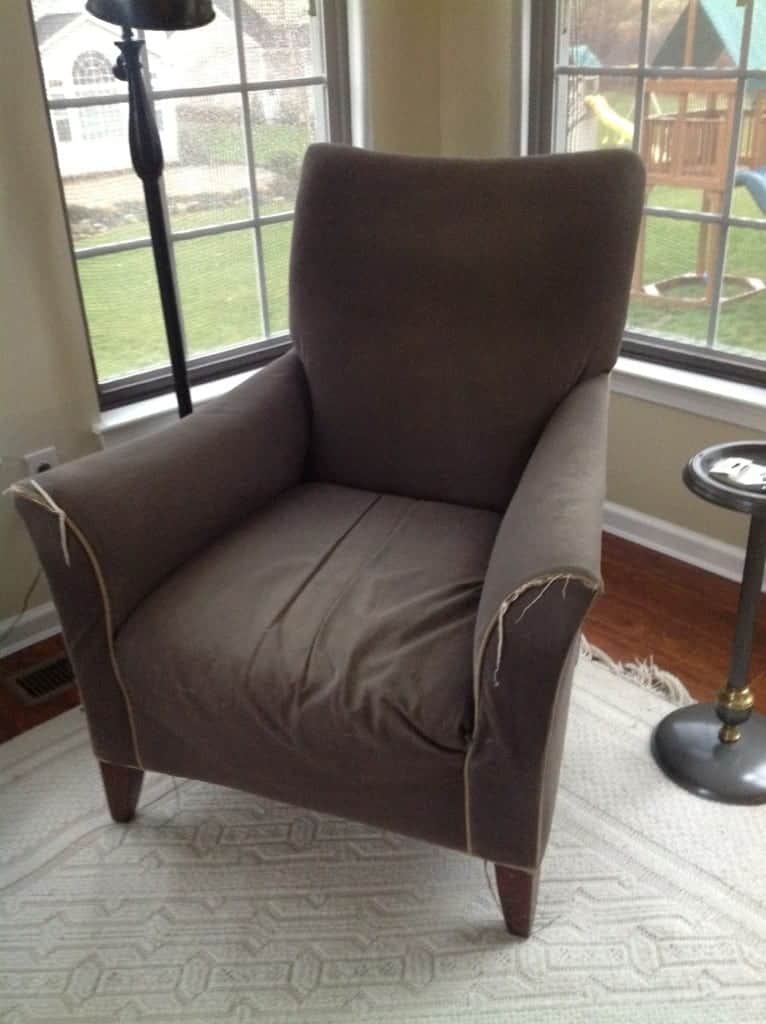
I bought this chair back in 1999 and always loved the shape. It looked more modern and classic. I loved the clean lines — and even though it looked angular, it is surprisingly comfortable. Once it started to fall apart, I couldn’t find another like it.
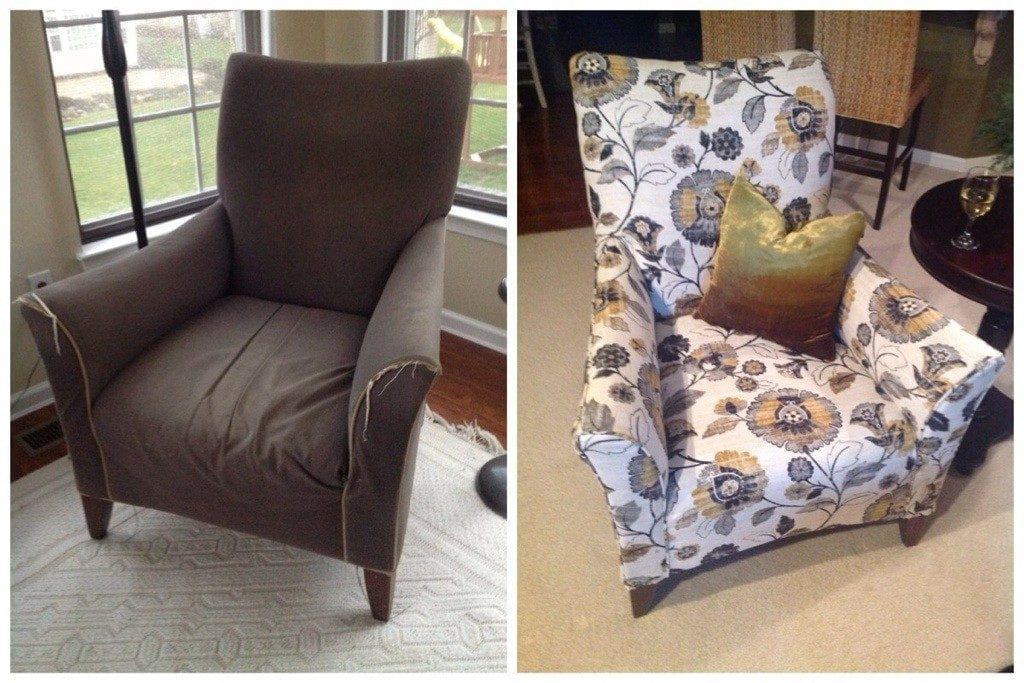
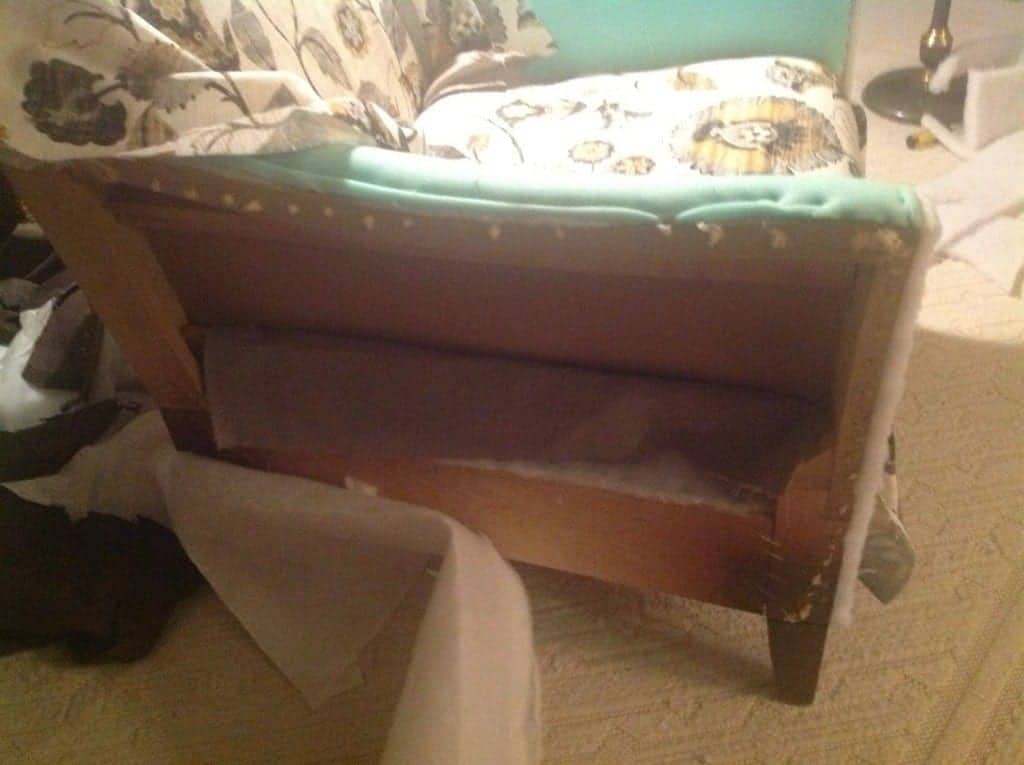
When my kids were little people they would lean over the arms (oh how I wish for those days again). Sometimes they sat on the arms like a horse. There were always two little faces looking at me on each side. The springs broke off the bottom. But I still loved the clean lines and modern twist.
And…I couldn’t find another chair to replace it. So…reupholstery it was! (Gulp!)
Some advice right out of the gate:
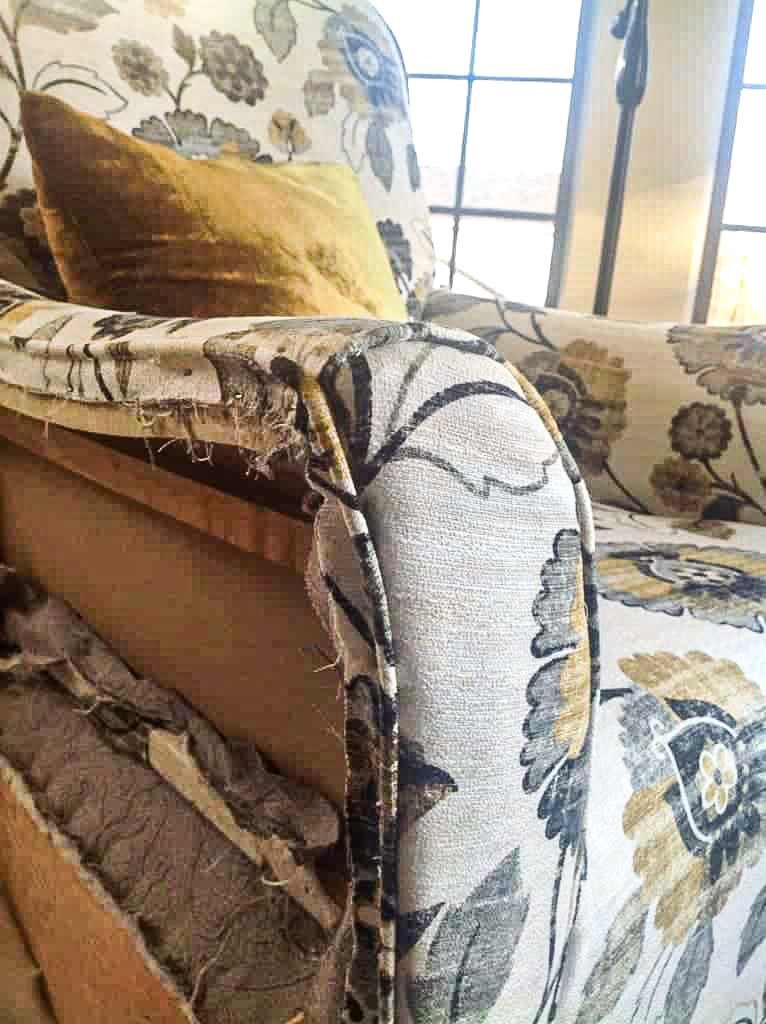
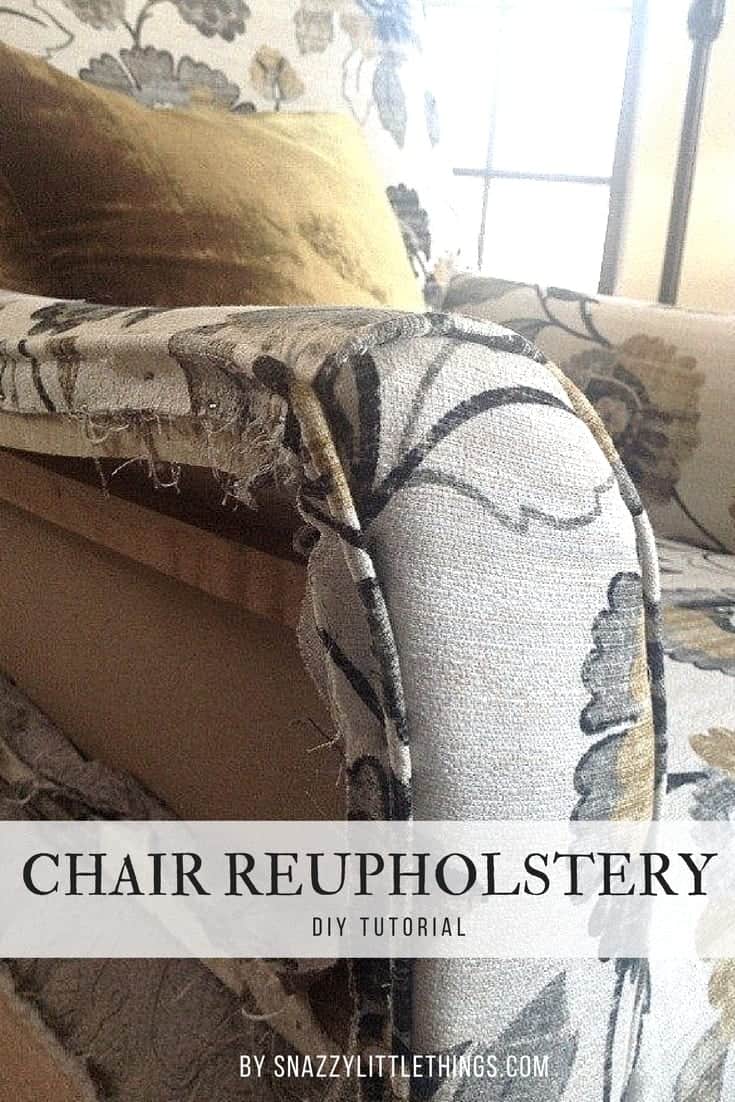
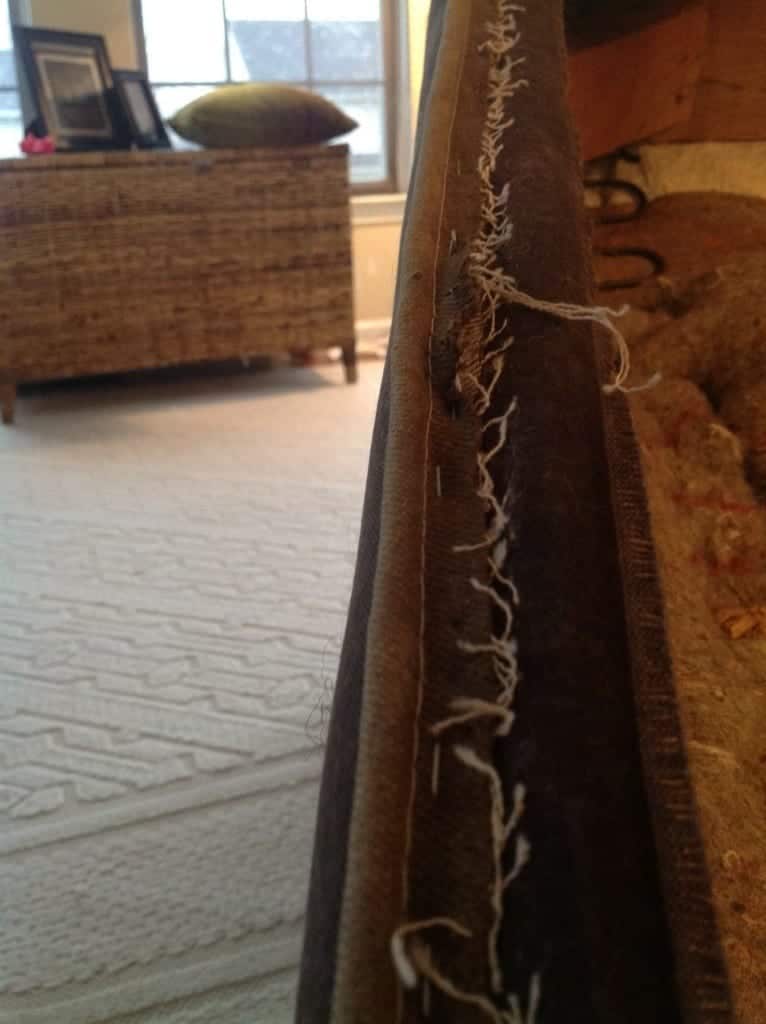
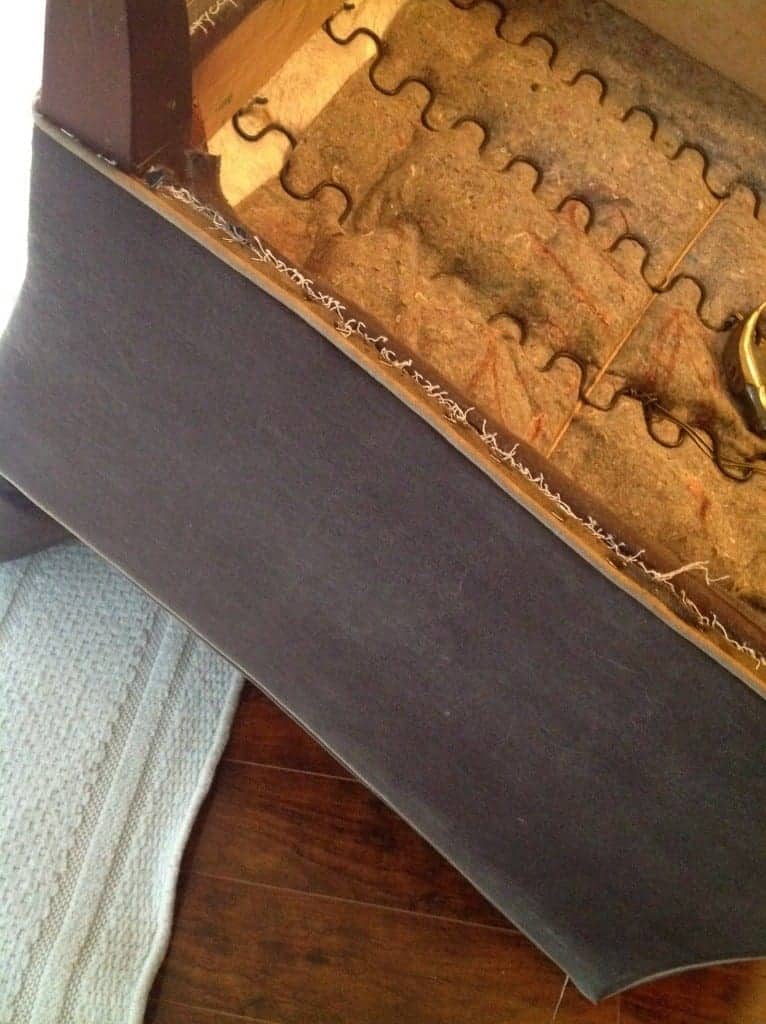
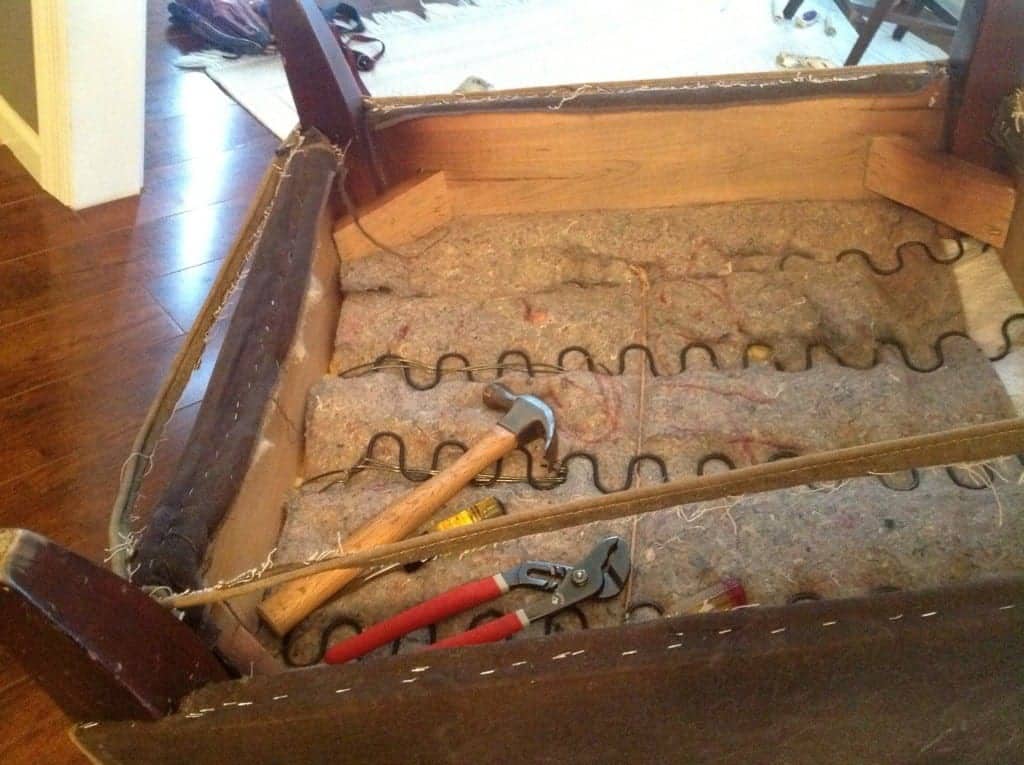
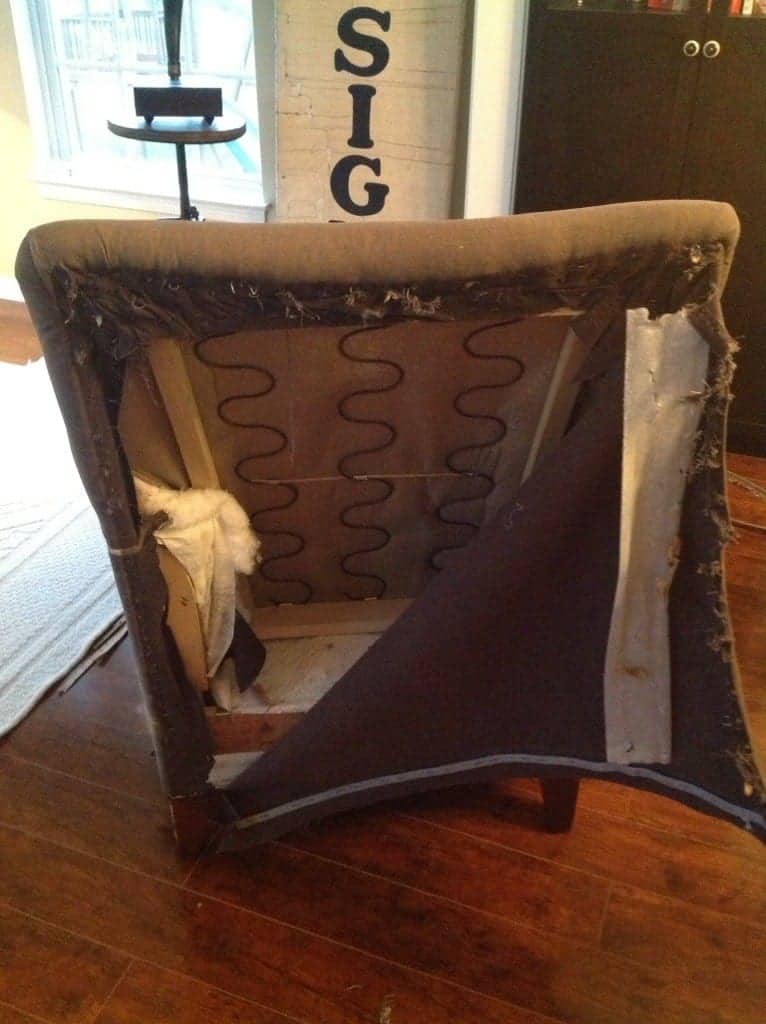
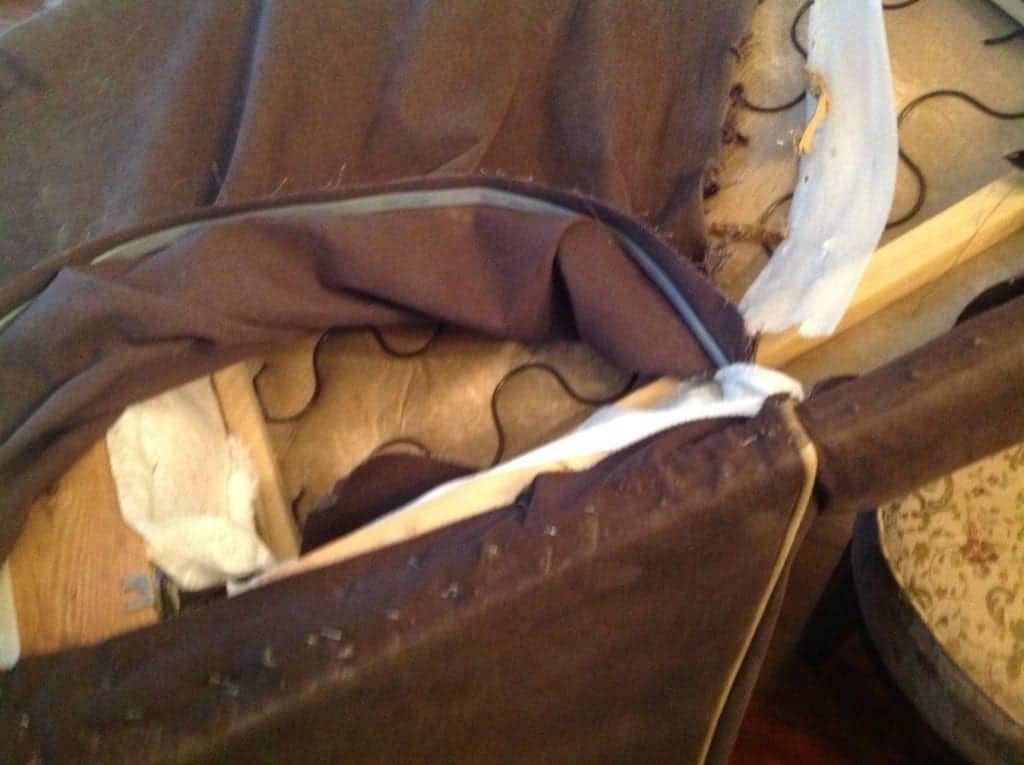
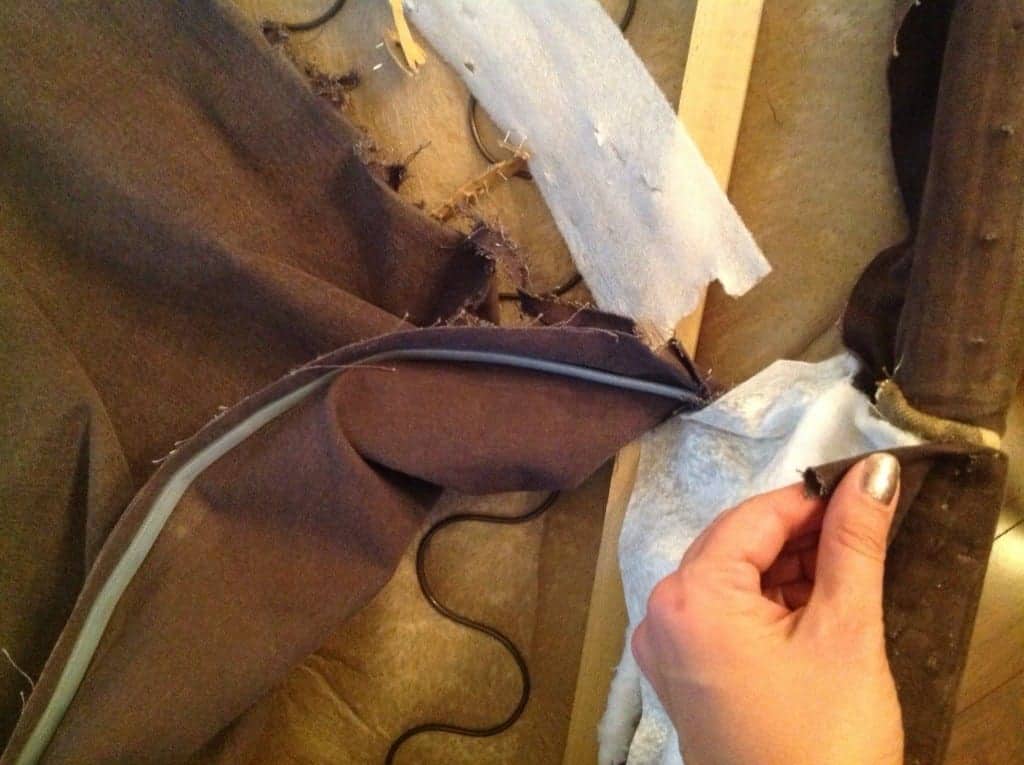
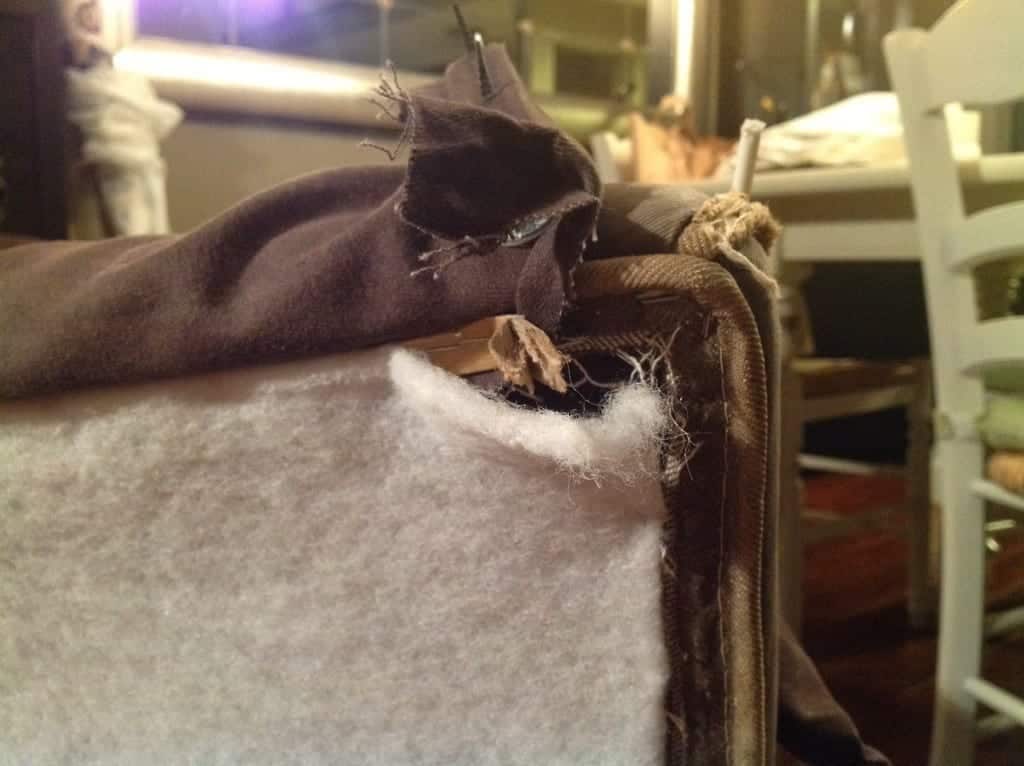
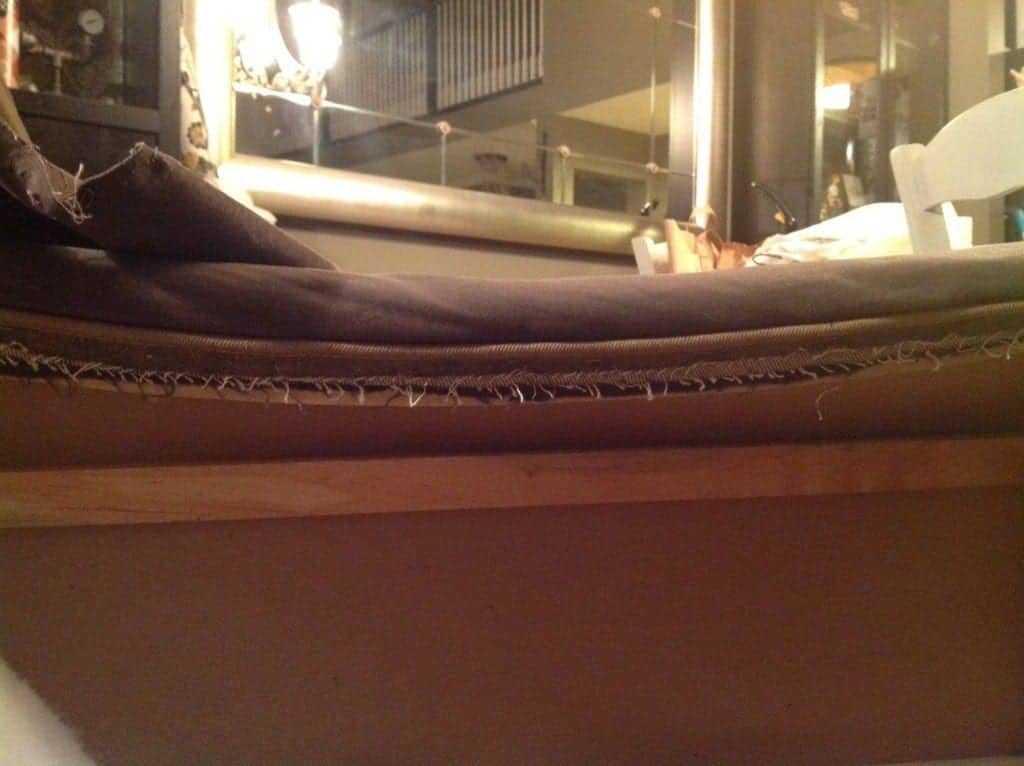
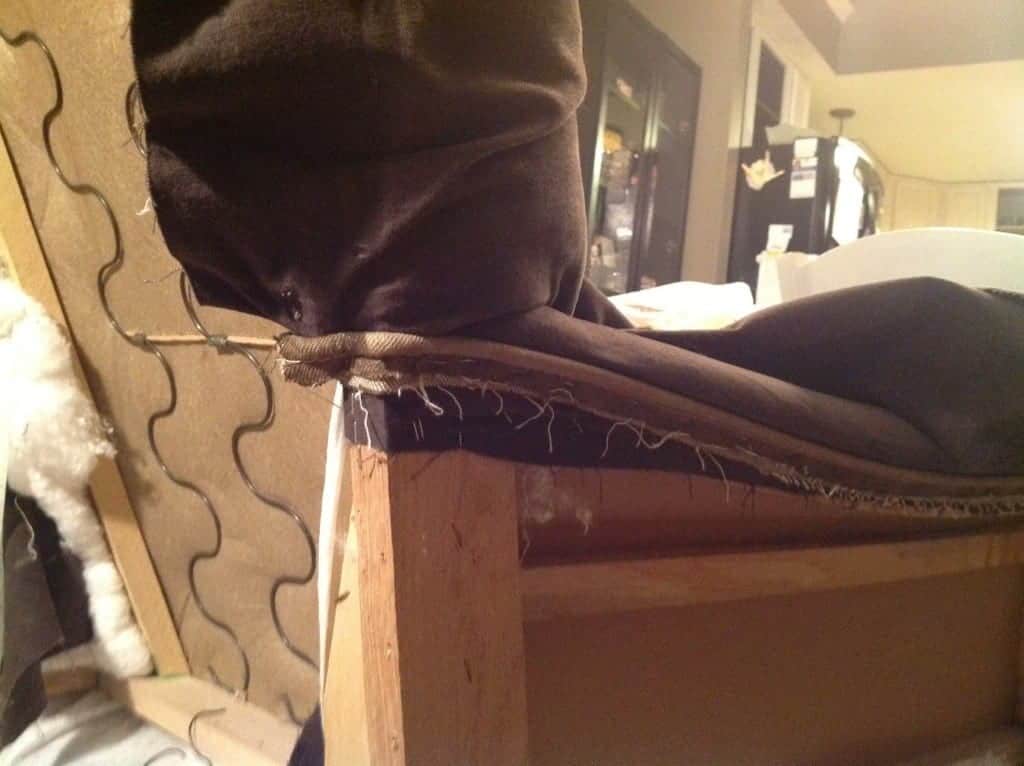
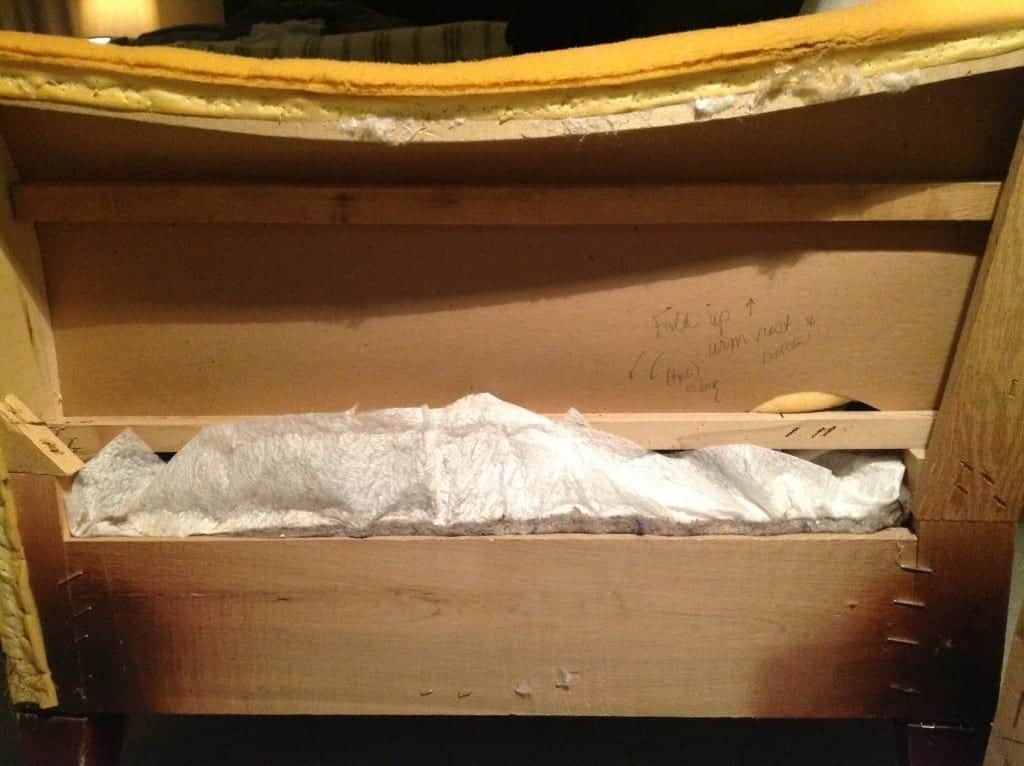
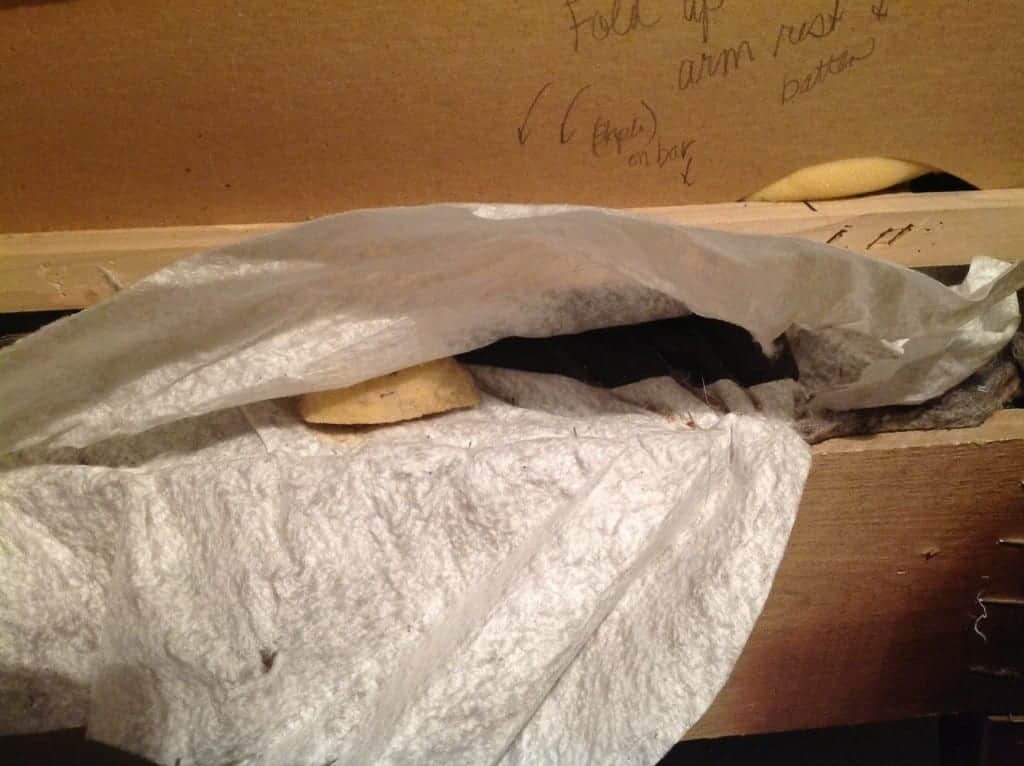
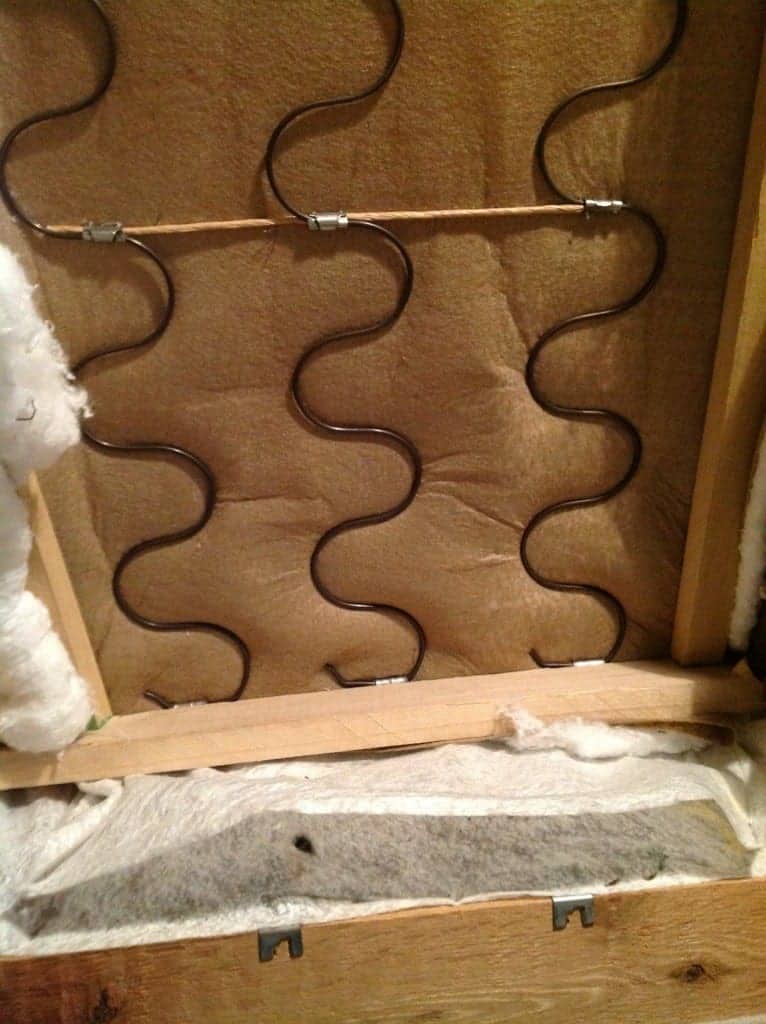
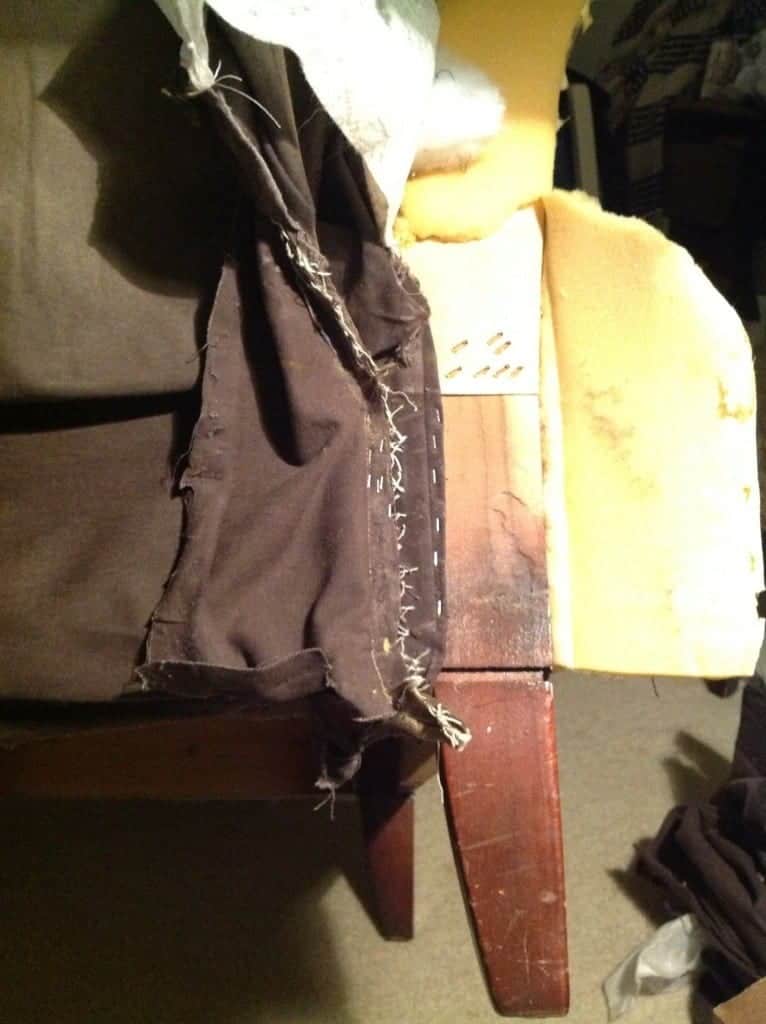
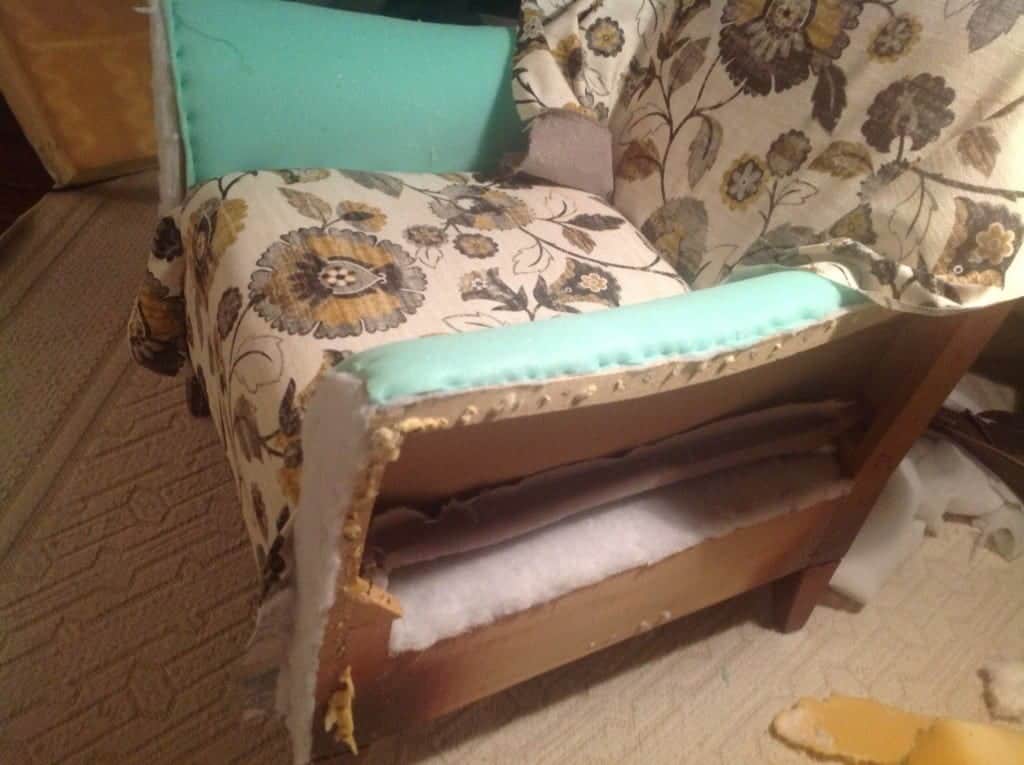
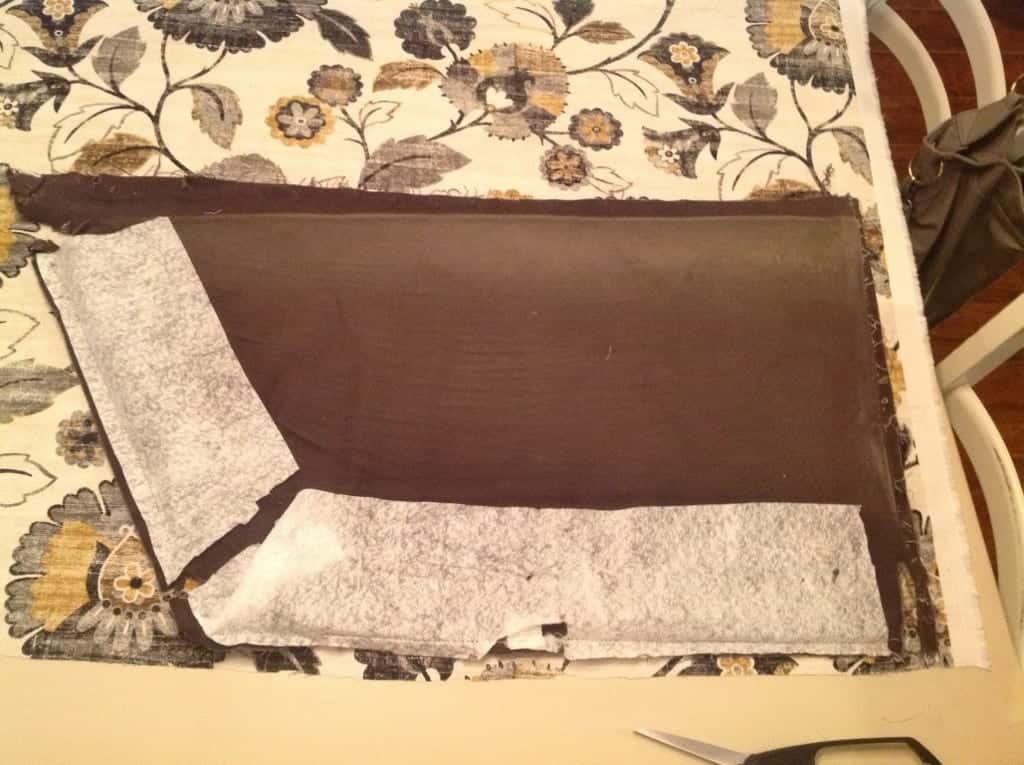
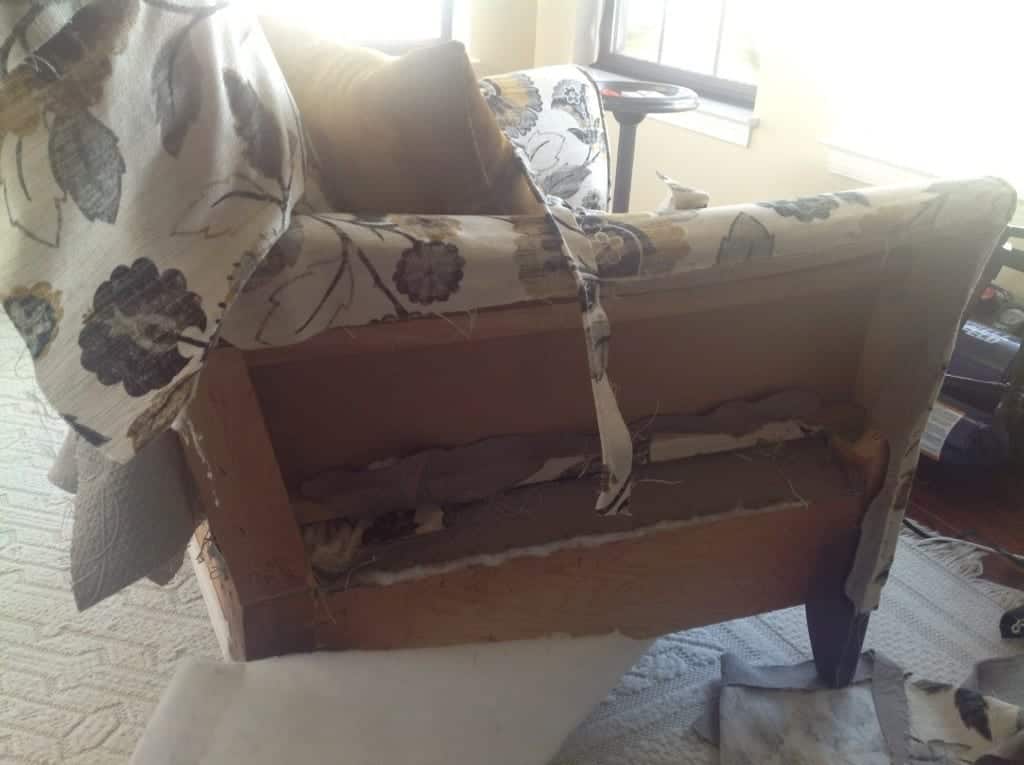
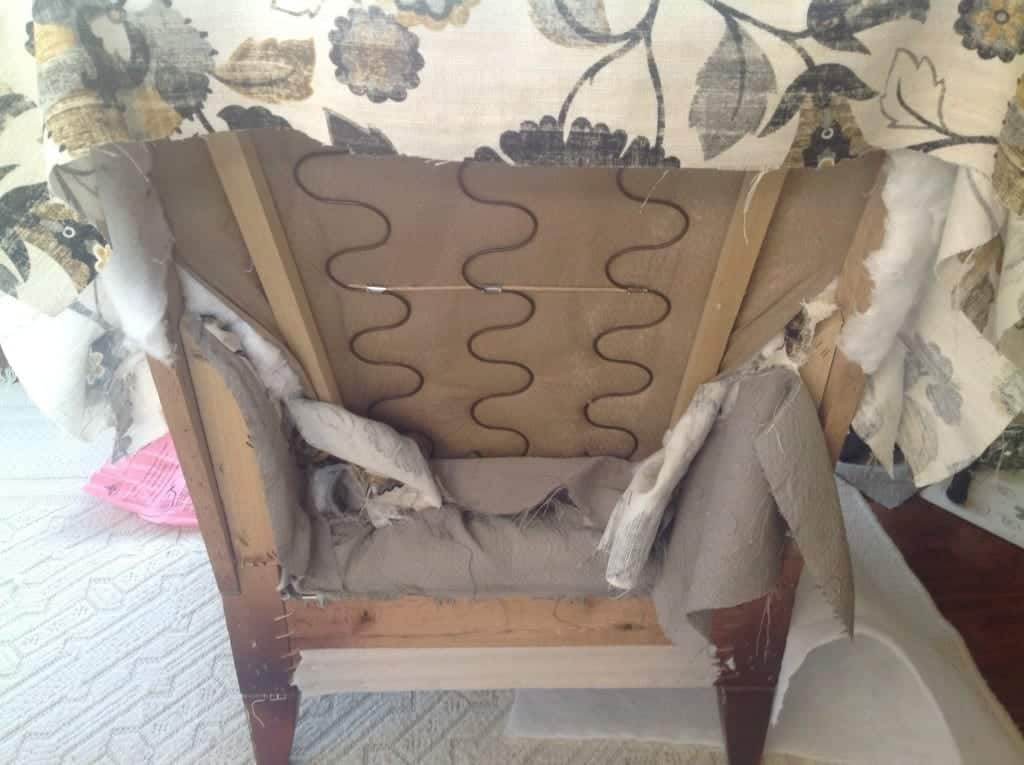
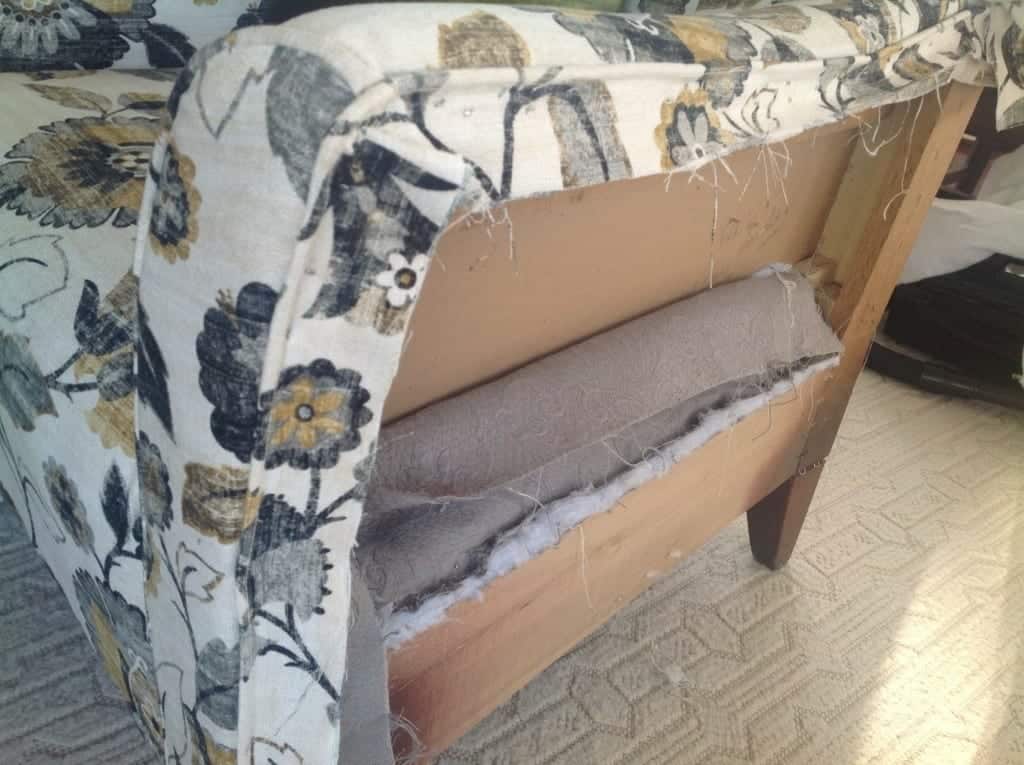
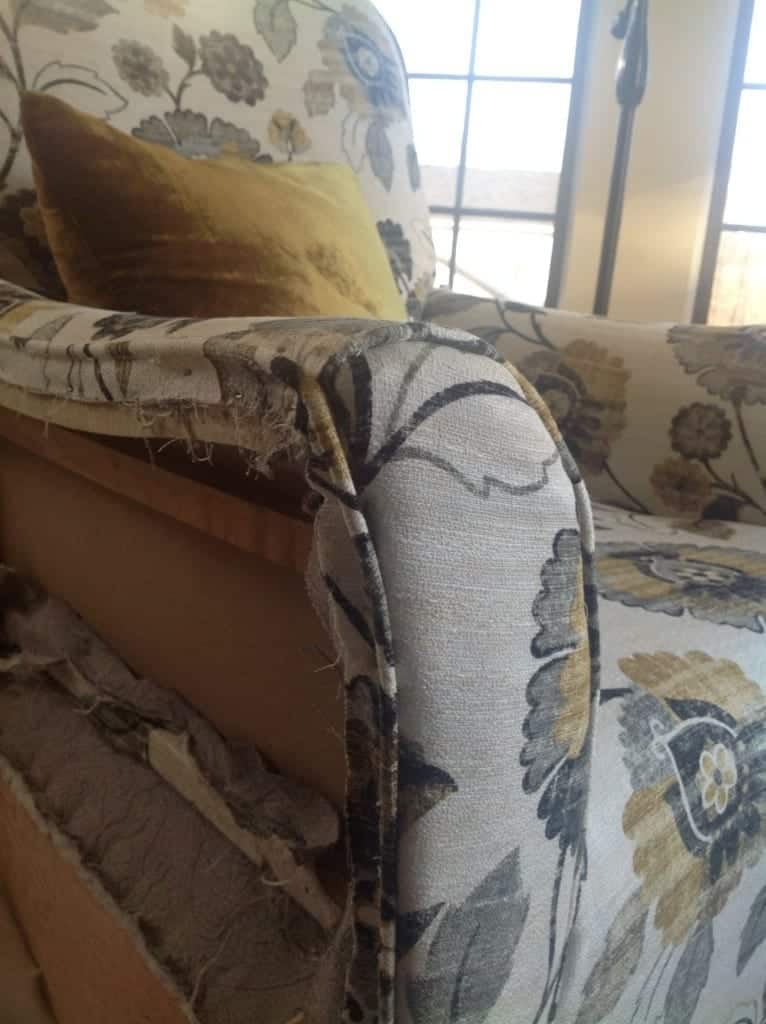
Reupholstery is a puzzle. It’s a matter of deconstructing your piece one layer at a time, then reconstructing your fabric and folds in reverse order! Flip over your chair to inspect. Follow the layers. Use the old remnants as your pattern to cut new pieces. Then you reconstruct your way back to a finished piece. I used photos as “breadcrumb” reminders to how to reconstruct my piece in the order I removed things.
Take Pictures As You Deconstruct: Think of it as “dropping breadcrumbs” along the way. Taking pictures as I took the pieces apart was like sending messages to myself in the future — so I knew exactly what order to re-assemble the piece. Referencing my own photo documentary really helped me when I put the chair back together…I just did it in reverse order.
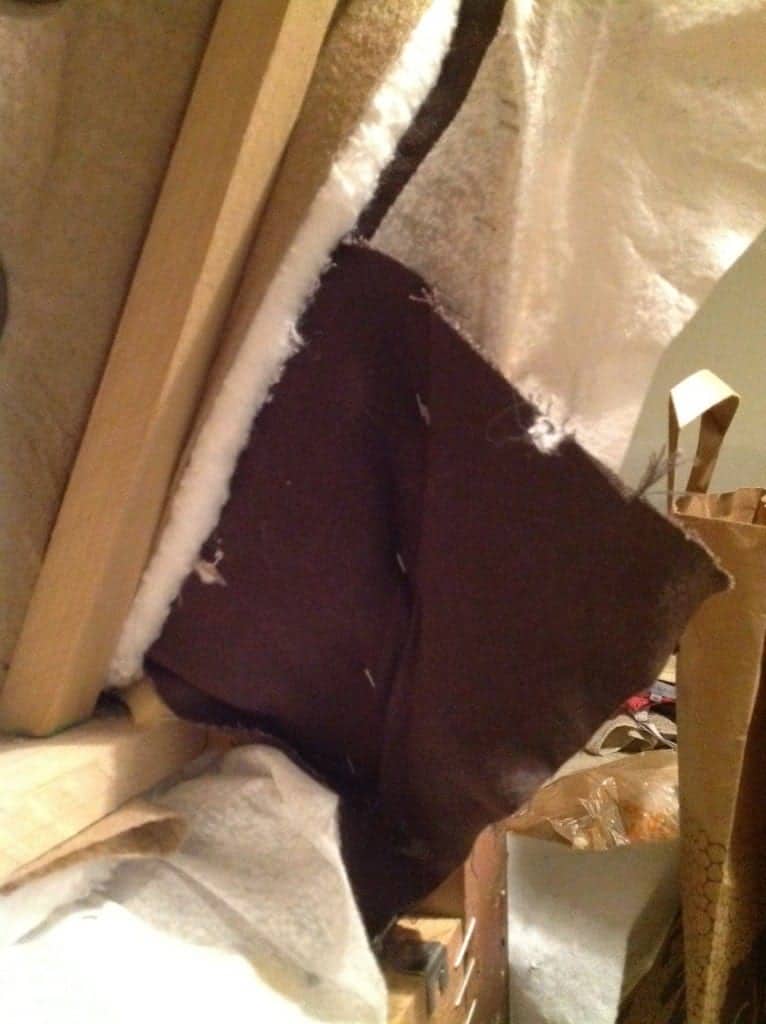
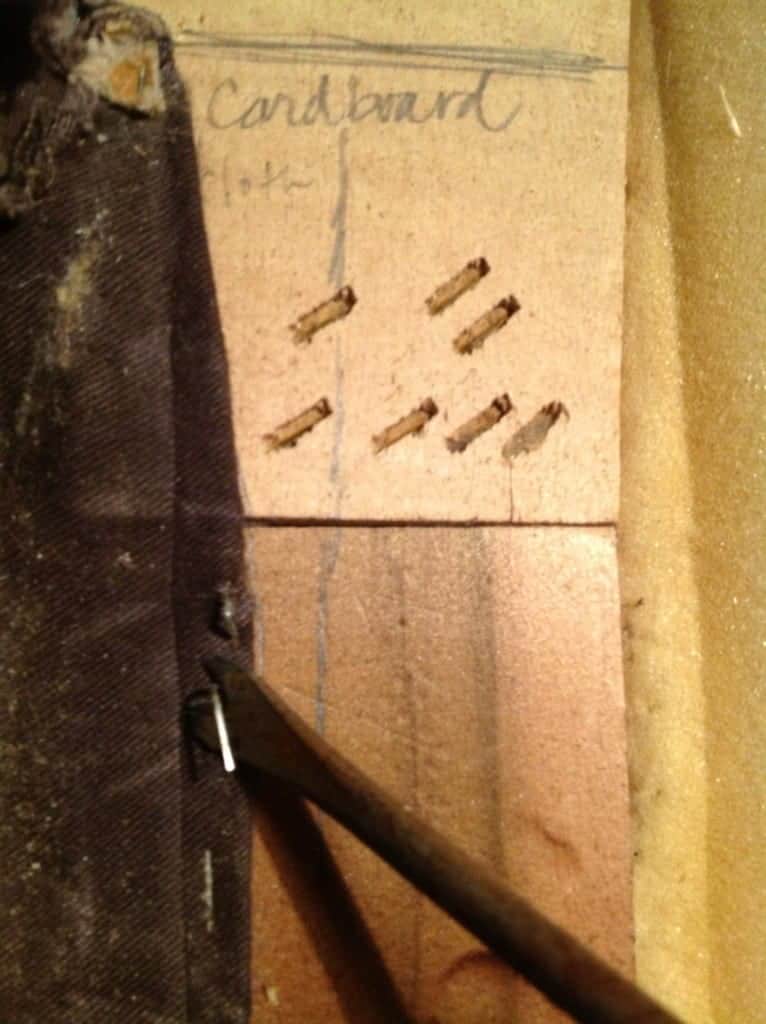
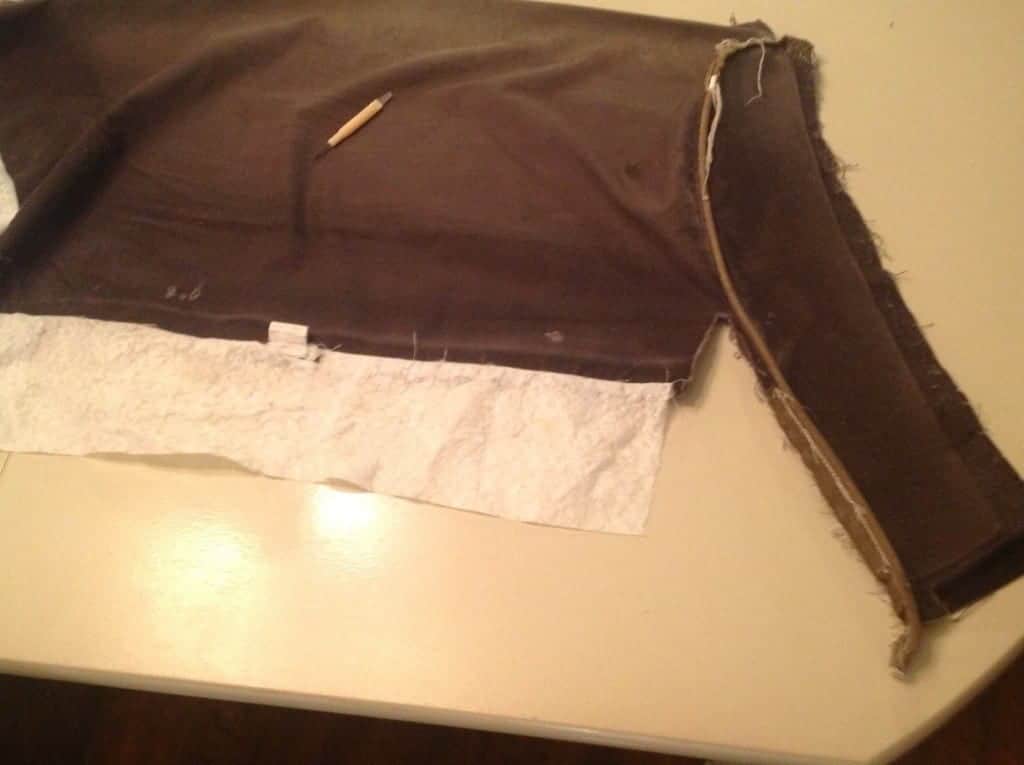
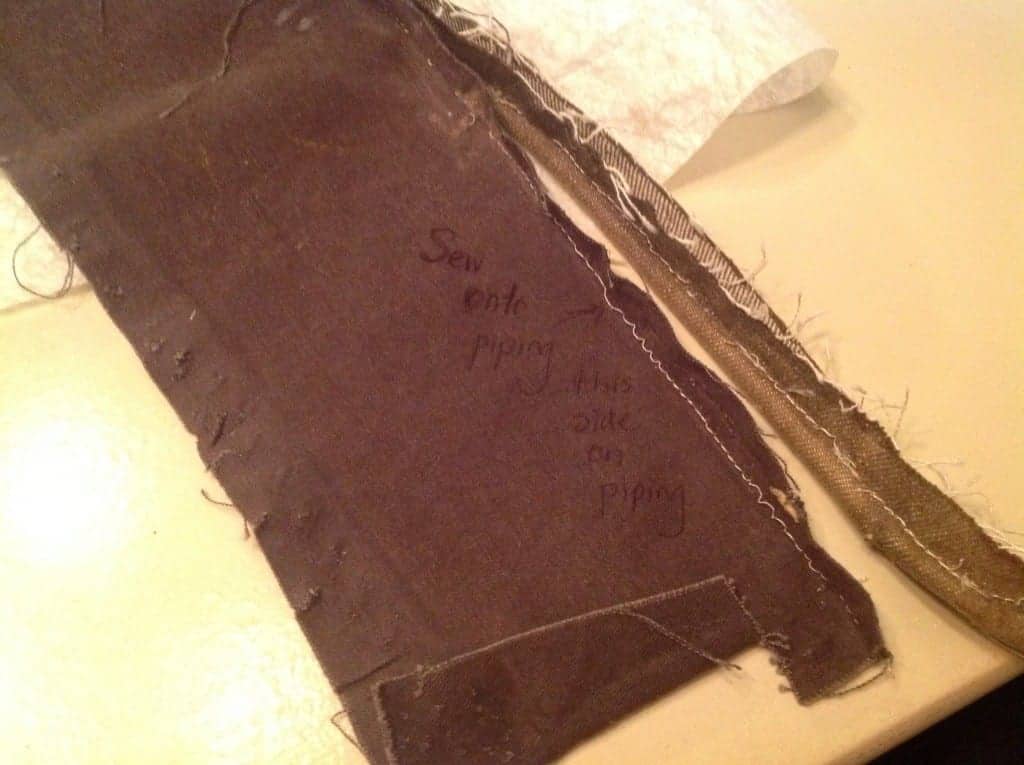
Deconstructing Creates a Pattern for Your New Fabric: You will be able to re-use some items, including the piping. All of your old fabric? Well, that serves as your pattern for your new fabric. Don’t throw it away, and in my case, all of my original brown fabric is in a small plastic bag in our storage area. just in case I decide to do this again.
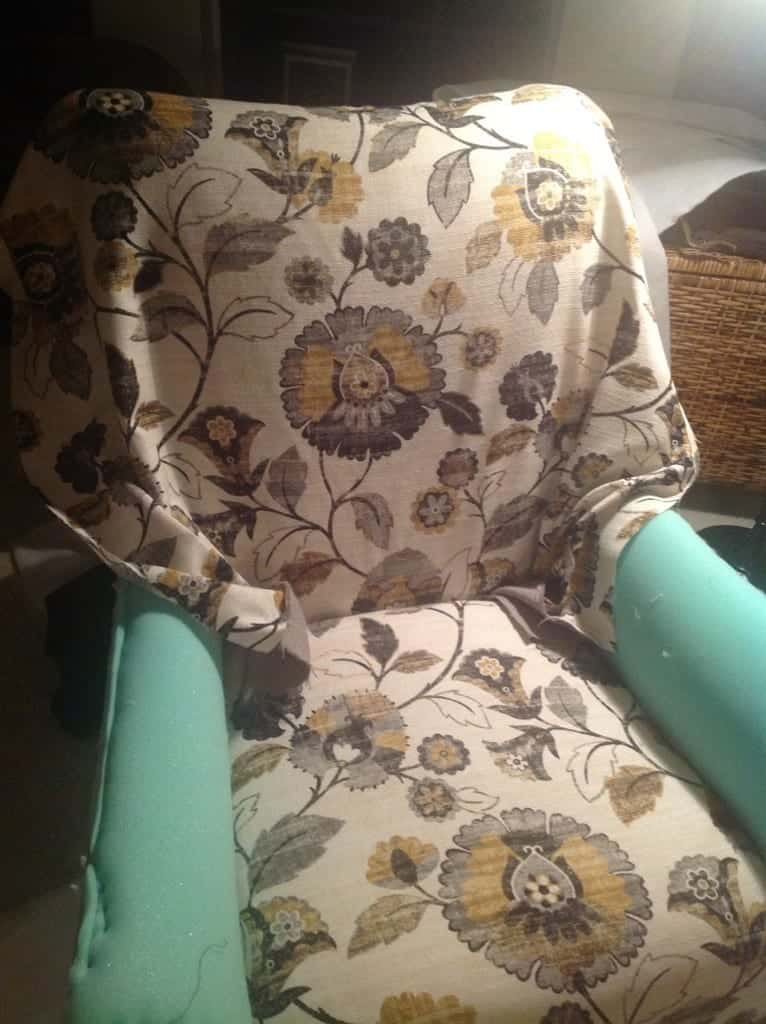
Cutting New Fabric: You don’t want to over-purchase fabric, so my advice is to take your deconstructed fabric remnants to the store with you. This way, you only buy exactly what you need. Cut the new patterns larger vs. too small. Oh, and always take a coupon if you’re going to JoAnn’s or Hobby Lobby, otherwise this won’t be a cost-effective DIY. For this size chair, I used approximately 5 yards of fabric.
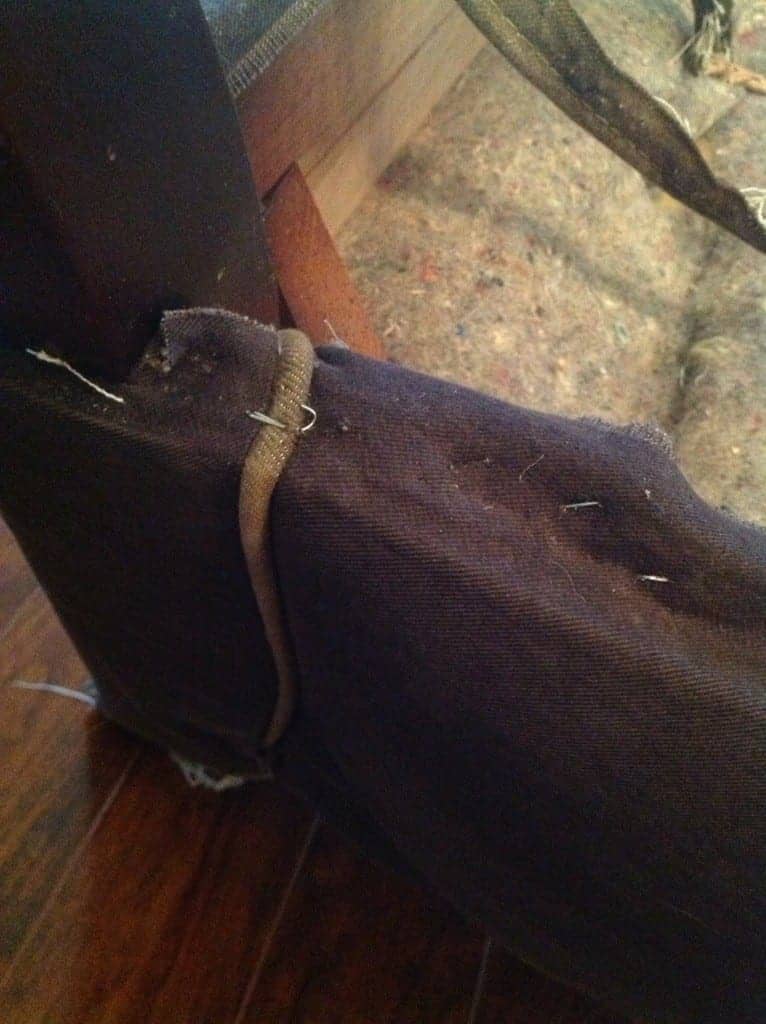
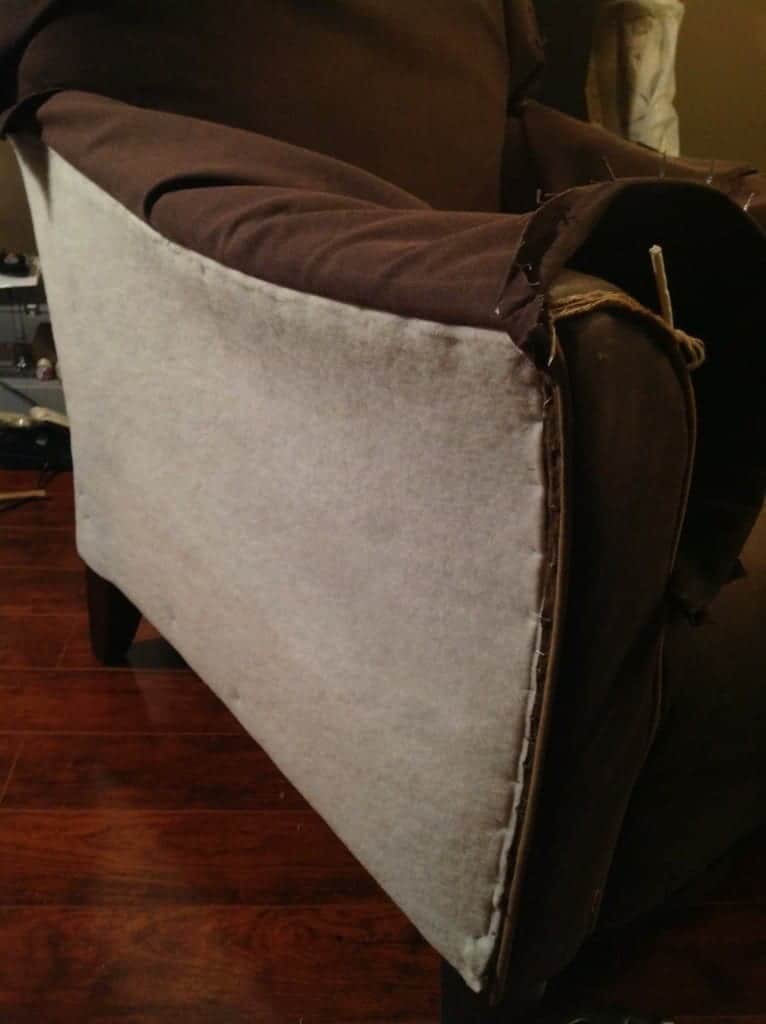
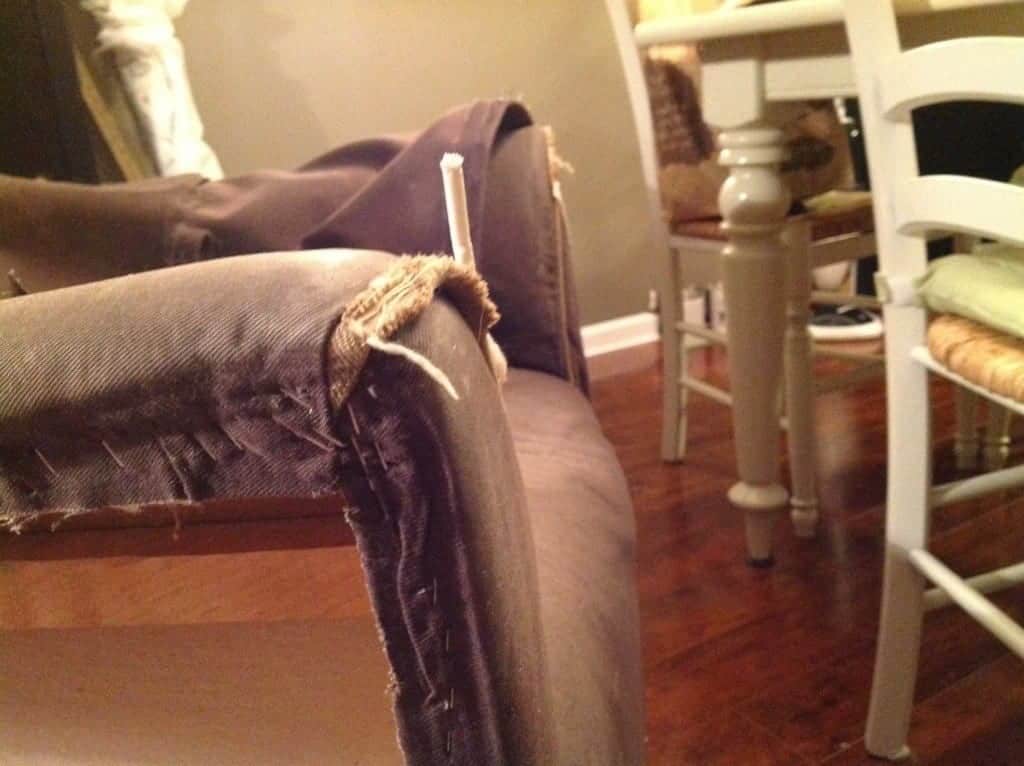
Sewing: As I mentioned, I had never sewn a thing in my life until this project. I just ran a very tight stitch that felt strong. (See? I don’t sew!) I have no idea how to explain it other than that! They weren’t pretty on the inside, but on the outside…I knew they weren’t coming apart. As far as putting the piece back together, here is something that really helped — I removed both armrests, and I kept one of my scrap armrests “intact” so I could see how the pieces were sewn together, the SECOND armrest I would completely unstitch and use the individual pieces as my pattern. Make sense?
Sit down in front of your sewing machine, and overcome your fear. If I researched too much on the internet, I would overthink it. Instead, simply practice straight stitches on scrap fabric. Do this until you are comfortable. Learn which stitch is the strongest…and go for it! The process really isn’t too hard.
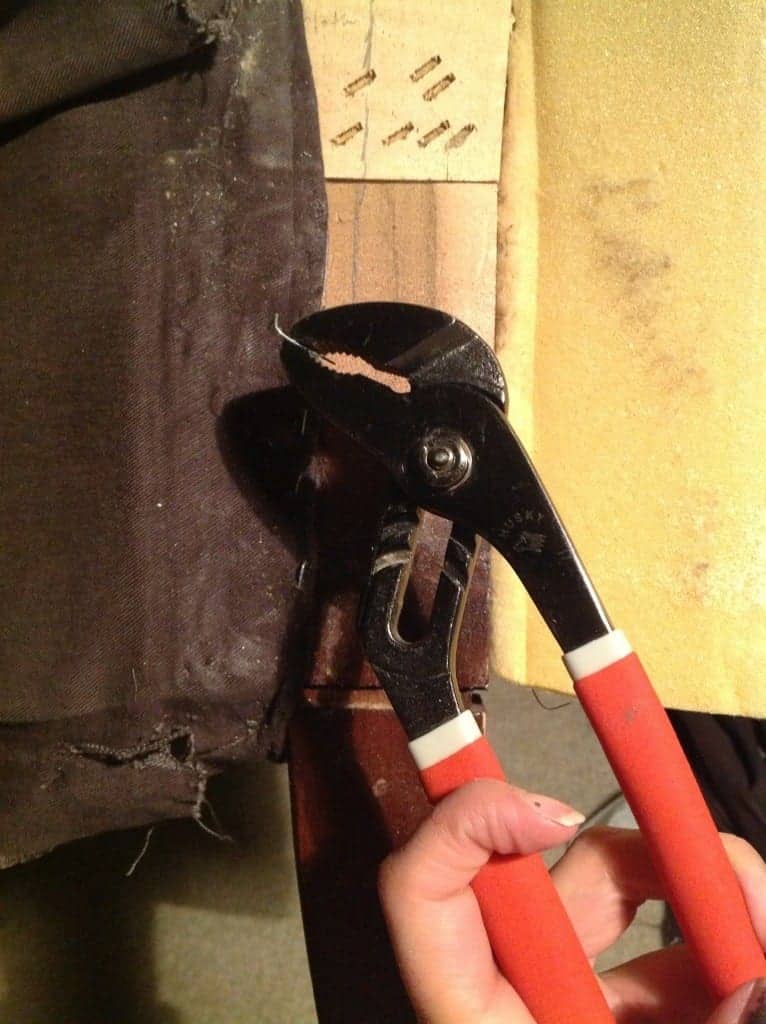
Tools: I only recommend a power nail gun with an air compressor (a brad nailer). You’ll make yourself crazy using a small handheld stapler. Also you’ll need a stitch remover, a yardstick (for flattening and cutting fabric around your remnants), sharp scissors for cutting clean fabric. I also recommend a wooden spoon for pushing new fabric down and through crevices…you will lose fingernails at this phase without it. There is a good list of tools here, but don’t run out and purchase all of that out the gate. Just see how your own piece is put together, then buy what you need. Your piece may come apart much easier than some others. For any gaps in the fabric, I actually used hot glue to close those gaps and give extra strength to areas with high wear (like the corners of the armrests).
Photos of the process and my thoughts along the way:


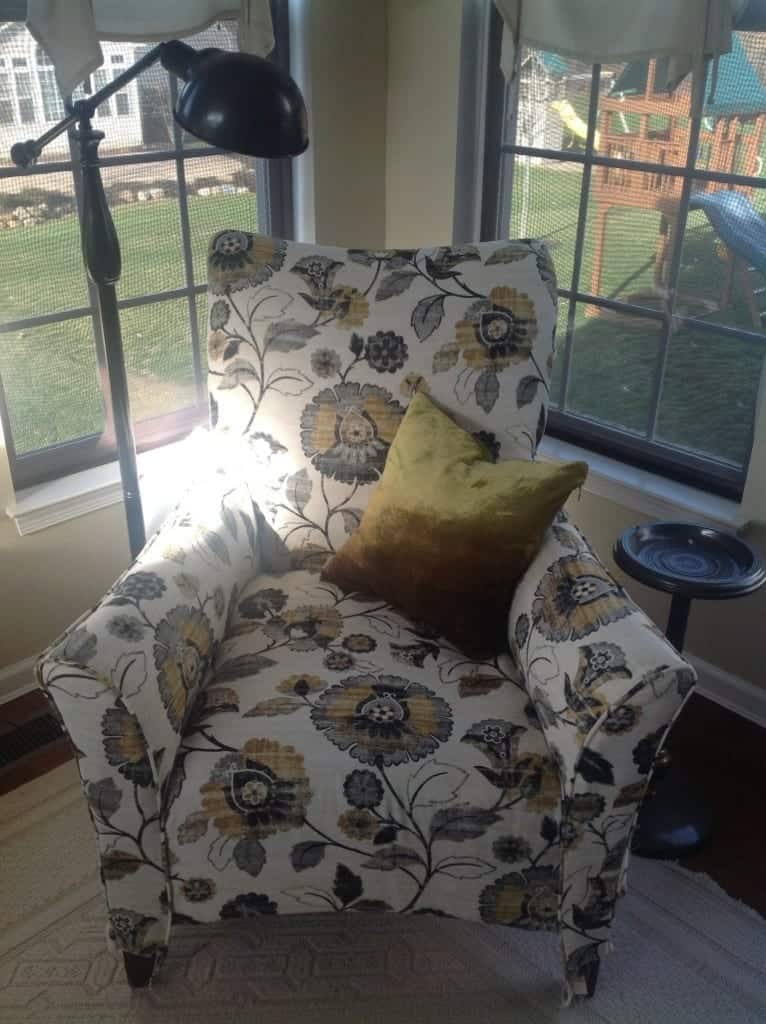
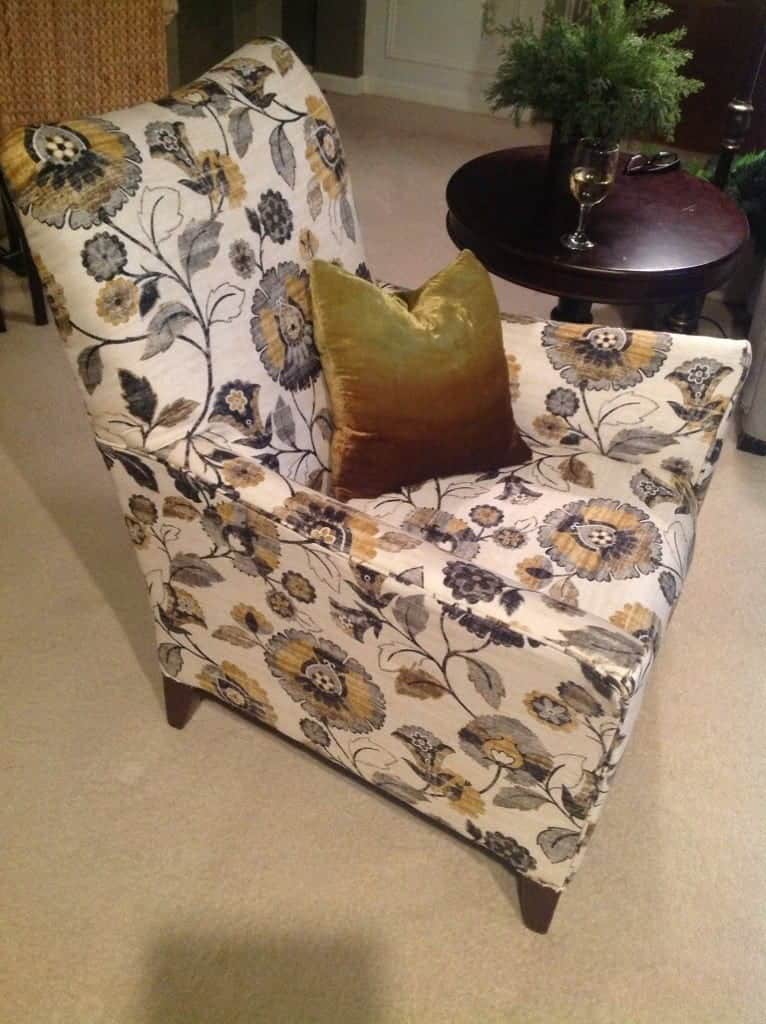
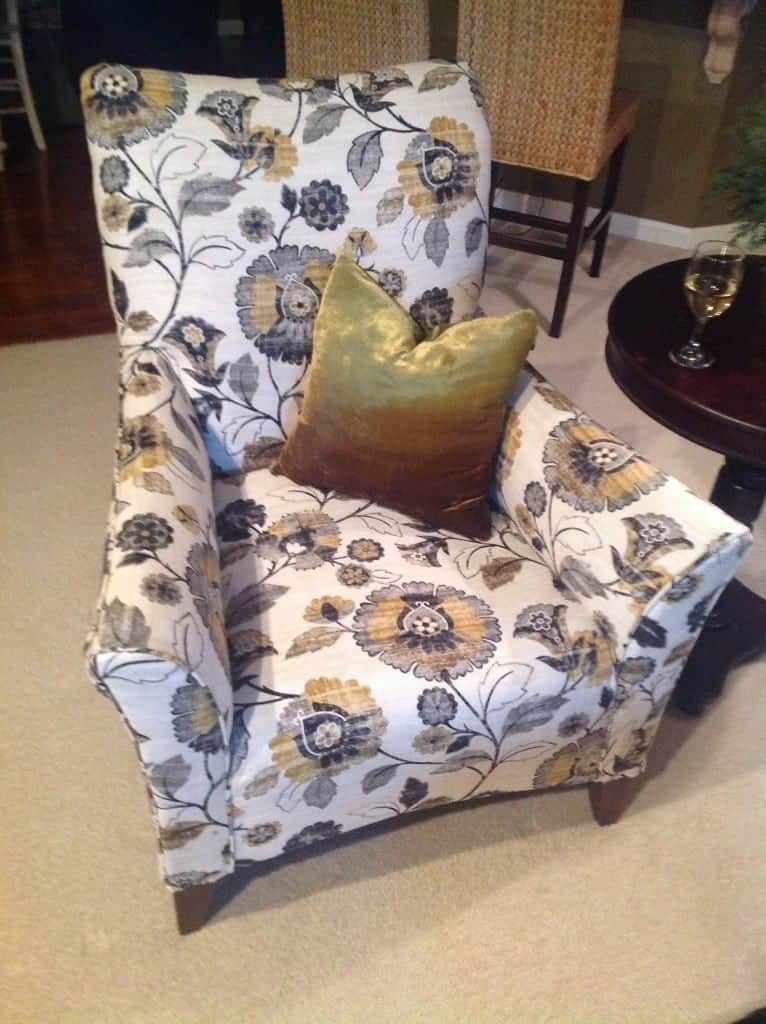
I hope this helped you and you enjoyed witnessing the process. I was more determined than I was intimidated…so once you get the urge to stick-to-it, I hope you’ll visit my site and feel free to ask questions!
Honestly, if you like puzzles, like learning and can practice sewing a tight stitch, then you can do this!
